
Creating a 1099 form can be done in two ways: manually or using a 1099 form generator. Since you’re probably a busy person, handling paperwork manually is time-consuming, tedious, and prone to errors.
So, let’s walk you through the easiest and most efficient way to create a 1099 form using a 1099 NEC generator.
Understanding 1099 Forms
Before getting into the process, it’s important to understand what a 1099 form is and why it’s used.
The IRS requires businesses and individuals to report non-employee compensation and other types of income. Several types of 1099 forms exist, but the most commonly used are 1099-NEC (Non-Employee Compensation) and 1099-MISC (Miscellaneous Income).
However, in 2020, the IRS reintroduced 1099-NEC to separate contractor payments from miscellaneous income. This makes 1099-NEC the most relevant form for businesses paying freelancers or independent contractors.
Now, let’s go through how to create a 1099 form using a simple, step-by-step approach.
Steps to Create a 1099 Form
A 1099 NEC generator simplifies the process into six key steps:
Step 1: Enter Payer Information
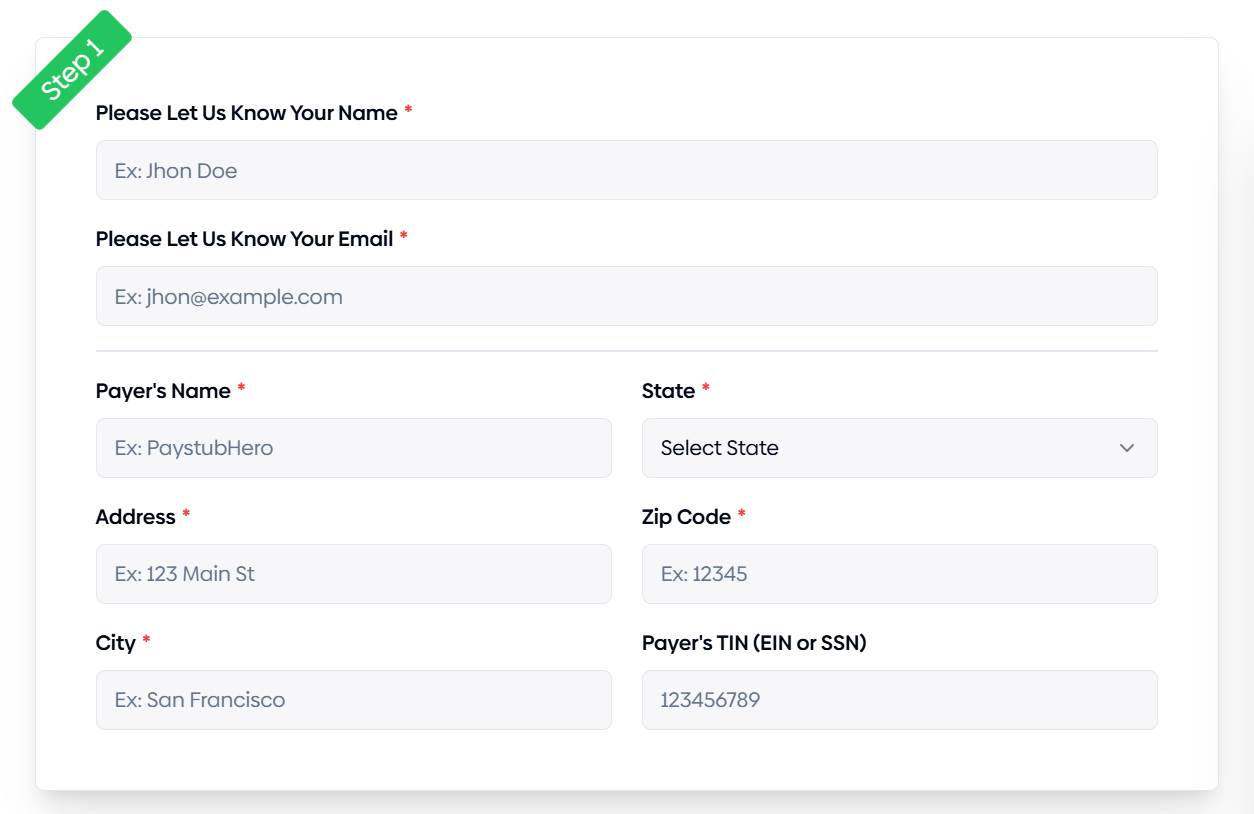
The first thing you need is the payer’s details. The payer is the business or individual responsible for making payments to the contractor. This includes essential information that ensures accuracy and compliance with IRS regulations.
Let’s break it down:
⦿ Business name or full legal name: This should be exactly as it appears on tax documents to avoid any issues.
⦿ Employer Identification Number (EIN) or Social Security Number (SSN): The IRS uses this number to track tax filings, so double-check for accuracy.
⦿ Address, including city, state, and ZIP code: Ensure this is up to date to avoid miscommunication or processing delays.
Here’s an example.
You’re a small business owner who hired an independent graphic designer for a total payment of $10,000 throughout the year. In this case, you are the payer, and it’s important to input your business name, EIN or SSN, and address accurately.
Any mistakes could result in IRS penalties or confusion down the road.
Beyond just filling out the fields, it’s a good idea to cross-check this information with your tax records. If you’re unsure about your EIN or need to apply for one, you can do so through the IRS website.
Step 2: Enter Recipient Information
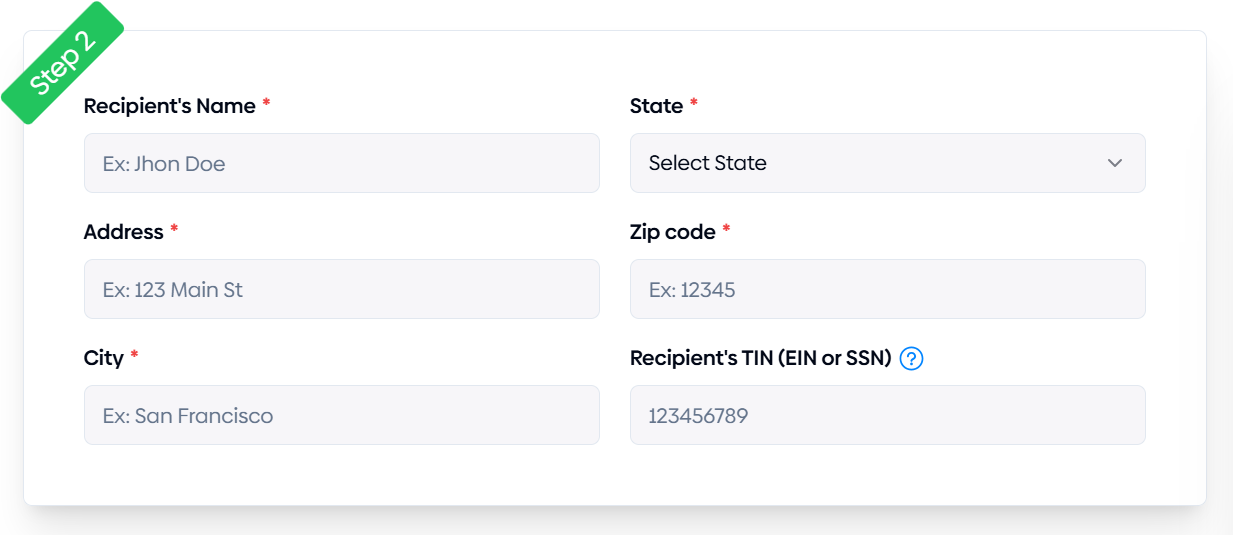
Next, input the recipient’s details, which refers to the independent contractor receiving the payment. Accuracy is important here since incorrect information can cause tax filing issues.
The required fields include:
⦿ Full legal name: This should match the name on the recipient’s tax records.
⦿ Taxpayer Identification Number (TIN) or SSN: Ensure that the number provided is correct, as mistakes can lead to IRS penalties.
⦿ Business name (if applicable): If the recipient operates under a business name, include this in the form.
⦿ Address details: Provide the recipient’s full mailing address, including city, state, and ZIP code.
If you hired Alex, a freelance writer, and paid them $8,500 for content writing services, their full legal name, SSN, and business name (if applicable) should be entered correctly.
If Alex operates under “Alex Writing Solutions LLC,” you should list that business name instead of just “Alex.”
This ensures that tax documents align with their official business records and prevent issues when filing taxes.
Step 3: Fill in the Filling Information
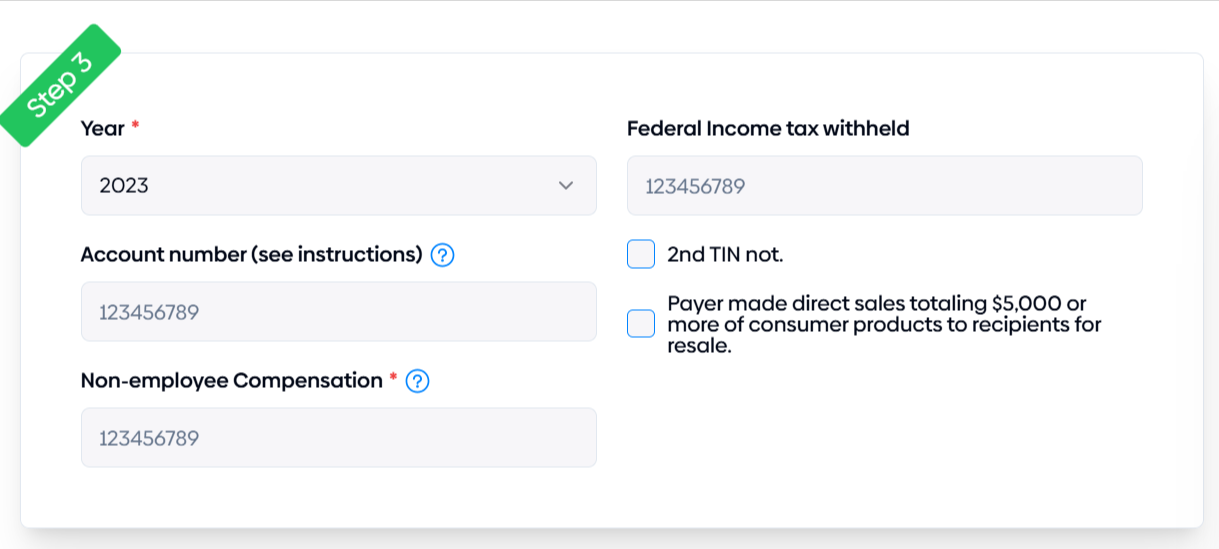
Now, enter the total payment made to the contractor during the tax year. This is crucial because any payment exceeding $600 must be reported to the IRS.
Key details:
⦿ Total non-employee compensation (Box 1 on 1099-NEC)
⦿ Federal tax withheld (if applicable)
⦿ State tax withheld (if applicable)
Step 4: Report State Income and Taxes
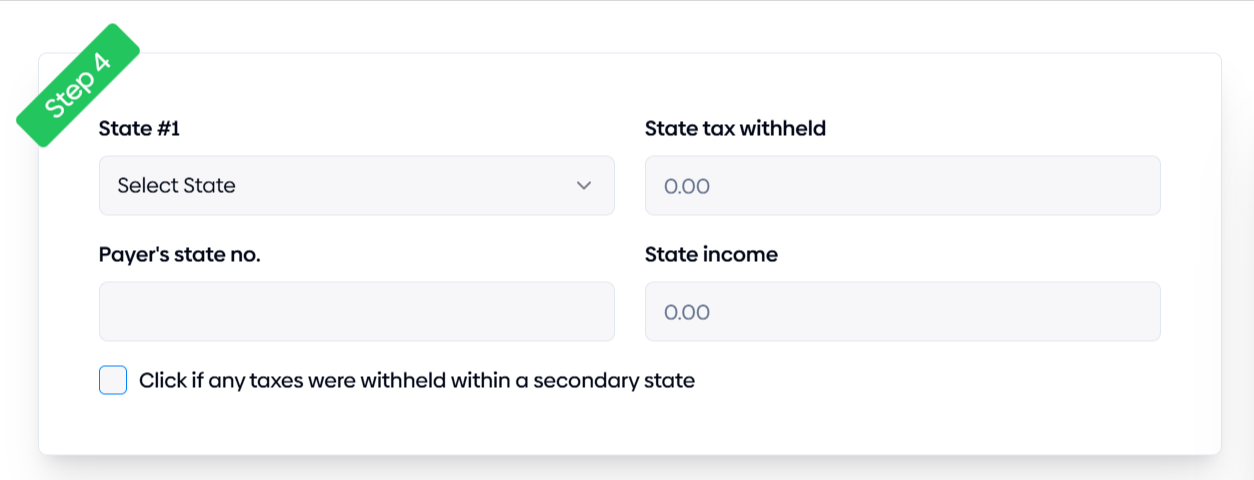
In this step, you need to report any state tax-related information. While federal reporting is required for all payments over $600, some states have additional requirements for reporting payments and withholding taxes.
Make sure to check your state’s specific rules to ensure compliance.
The fields to complete include:
⦿ State 1
Select the appropriate state where taxes apply. This is usually the state where the contractor operates or where the business is registered.
⦿ Payer’s State Number
Lorem ipsum dolor sit amet, consectetur adipiscing elit. Ut elit tellus, luctus nec ullamcorper mattis, pulvinar dapibus leo.
⦿ State Tax Withheld
If any state taxes were withheld from the contractor’s payment, enter the total amount here. If no state taxes were withheld, leave this field as 0.00.
⦿ State Income
Enter the total amount of non-employee compensation that applies to the selected state. This should match the income reported at the federal level unless a different portion of earnings applies to that state.
Step 5: Review and Verify
Before submitting, double-check all the entered information. Errors in names, TINs, or payment amounts can lead to IRS penalties and delays.
Common mistakes to avoid are:
⦿ Entering incorrect TINs or SSNs
⦿ Reporting incorrect amounts
⦿ Forgetting to include state tax withholding (if required by your state)
Step 6: Generate the 1099 Form
Once everything is accurate, generate the 1099 form using the online tool. The system will create a properly formatted IRS-approved form ready for distribution.
The formats to use are:
⦿ Electronic Filing (E-File): Direct submission to the IRS online
⦿ Printable PDF: A copy you can download, print, and mail
Why Use a 1099 Form Generator?
A 1099 form generator makes tax filing much easier, especially for businesses and freelancers who need to report income accurately. Instead of manually filling out forms, a generator helps automate the process, reducing errors and saving time.
Accuracy
One of the biggest benefits is accuracy.
When filling out tax forms by hand, there’s always a risk of mistakes. Wrong numbers, missing details, or formatting issues. A 1099 form generator ensures all the necessary information is correctly entered, helping you avoid IRS penalties.
Time-saving
Another advantage is time-saving.
Manually creating multiple 1099 forms can be frustrating and time-consuming. A generator quickly fills out forms, allowing businesses to focus on other important tasks.
Plus, most generators store information, so you don’t have to enter the same details repeatedly.
Compliance
Using a generator also helps with compliance. The IRS has strict rules about how and when to file 1099s.
A good generator keeps up with the latest tax regulations, ensuring your forms are formatted correctly and submitted on time.
Digital Convenience
Finally, digital convenience is a major plus. Many 1099 generators allow you to e-file directly with the IRS, eliminating the hassle of printing and mailing forms.
Some even let you send copies to contractors online, making the entire process smooth and paper-free.
Create a 1099 With Ease
PaystubHero’s 1099 generator helps you quickly create accurate, IRS-compliant forms without the hassle of manual entry.
Simply enter your details, and our tool auto-fills the necessary fields, reducing errors and saving time. Generate, download, and even e-file your 1099s in minutes. No complicated paperwork needed. Stay organized, avoid penalties, and make tax season stress-free.
FAQs
Common questions on how to create 1099 include:
If you discover an error after submission, you must file a corrected 1099 form with the IRS and resend the correct version to the recipient.
No, payments below $600 do not require a 1099 form, but it’s still good practice to keep records.